Showing posts with label homeschool art. Show all posts

Monday, June 1, 2020

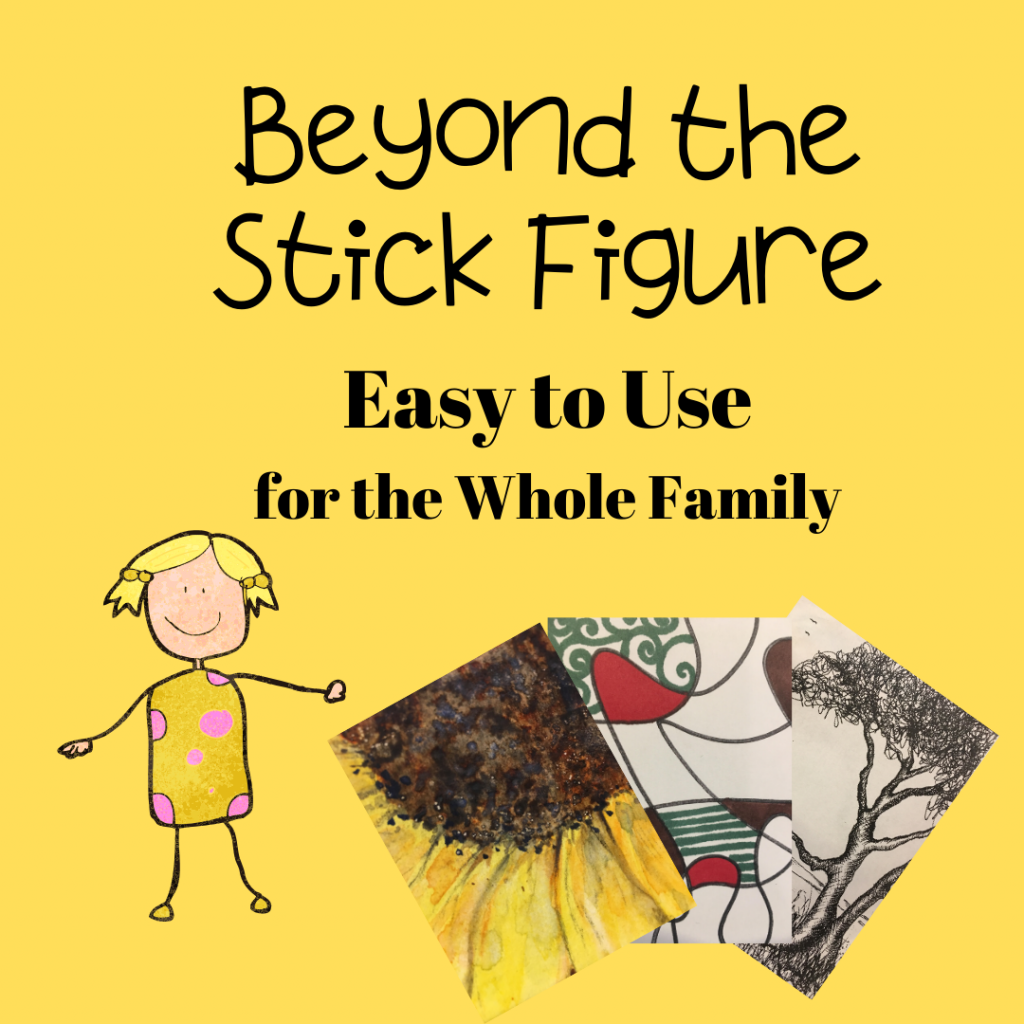
Beyond the Stick Figure Art School Review

Disclaimer: I received a FREE copy of this product through the HOMESCHOOL REVIEW CREW in exchange for my honest review. I was not required to write a positive review nor was I compensated in any other way.

Since we are stuck with out karate class due to Covid19 we added in an Art class by Beyond the Stick Figure Art Schoolhttps://beyondthestickfigure.com/. Beyond the Stick Figure Complete Drawing Course PLUS 3 Bonus Courses is what we received. The price of the course we received is $370.00.

This is a great little art program that I think most anyone can use. The Complete Drawing Course contains over 60 lessons that are designed and taught by a professional. This program is designed so anyone between the ages of 5-95 can use it. The program teaches skills and techniques that professional artist use to create amazing works of art. The program we received has over 60 lessons . You can use the program to teach multiple students at the same time or at different levels.  The bundle we received contains several different courses.

The first Course is Beyond the Stick Figure Complete Drawing Course. My daughter gauged this as a very beginner course. She said if you don't draw this is where you should start. She loves drawing and quickly got board with these lessons and moved on to some of the more challenging lessons. These lessons started off with the very basics and moves up from there. Part 1 has15 lessons and it is laid out with a daily lesson so its very easy for someone to follow. Part 2 has 19 lessons, Part 3 has 5 lessons, and a how am I dong grading rubric.

The second and third courses are Watercolor and Pen & Ink Course and the Introduction to Acrylic Painting Course.  There are 14 lessons in in Pen and Ink and water color has 47 lessons and the Acrylic course has 22 each section has a grading rubric to help you gauge how you are doing. This is the section where she really got into it. The video lessons are so easy to follow. She says it shows her steps to creating a picture and shows her different techniques that she can use to get the effect she wants when she paints. She says they use a great angle on the videos and she can see very well how to do different things. She is learning how to blend and layer colors and shadows better than ever now.

The fourth course is Introduction to 3D Design Course. This course has 28 lessons and covers 30 different topics. We haven't touched on this course just yet but we are defiantly working toward it and the girls are are excited to see what they can learn from it. I have pre- viewed a couple of the lessons and I think the girls will learn some great sculpting techniques for there clay figures.

Each course gives you a material list at the very beginning so you can pre-buy what you will need for the lessons. Thanks to covid19 our craft store was closed.  We substituted some of the items for things we already had in our art supplies that were similar. We had to make due with some some of the brushes and paints that we already had.  We had a big variety of pencils, charcoals and water color pencils already. They used acrylic paint crayon as well as some regular acrylic paint and watercolors. Over all the substitutions worked well and I think you can use a variety of brands and price ranges and still get good results. I am proud of my daughter and all that she is learning in this program. I cant wait to see how her artistic abilities improve as she progresses through the rest of the lessons.


Beyond the Stick Figure Complete Drawing Course {Beyond the Stick Figure Art School}

Monday, July 24, 2017

ACTÍVA Rigid Wrap and CelluClay Quik-Sculpting Kit Review

ACTÍVA Products
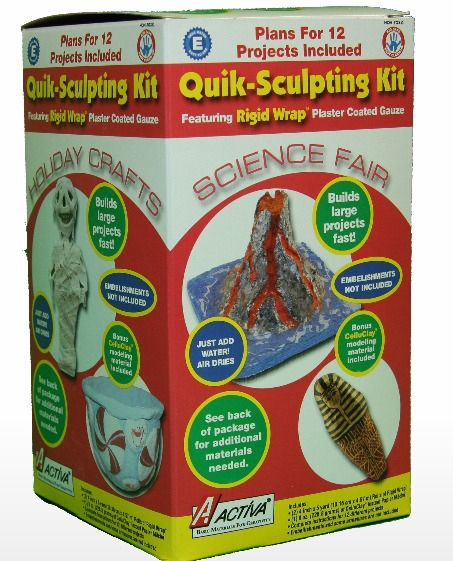
Rigid Wrap and CelluClay Quik-Sculpting Kit
Good morning crafty homeschoolers! This morning I bring you a fun craft kit from ACTÍVA Products . We were blessed to receive the Rigid Wrap and CelluClay Quik-Sculpting Kit. This Kit contains 2 roles of Rigid Wrap and a bag of CelluClay.  In case you have no idea what Ridgid Wrap is its basically a gauze type material that has been coated in plaster. To use it you will dip it in water and then sort of wring it out and then it is ready to use. CelluClay is unique because it is instant paper mache They also offer the ACTÍVA Products' Favorite Sculpture KIDS CRAFTS this is a free activity book that has some great idea on how to use the Quik-Sculpting Kit. 


Their are a lot of different ways you can use the Rigid Wrap and CelluClay Quik-Sculpting Kit. We chose to use it for our family hand casting project. I have done several small hand castings of the girls when they were smaller but this was our first large hand casting where we needed to use Rigid Wrap. 

Hand castings are made by using a alginate to make a mold. Alginate is  basically a substance that turns to a flexible rubber when it sets. How ever because it is flexible you will need to back the mold up with something that is not flexible so that your casting does not loose its shape when you pore in the plaster. This is where the Rigid Wrap comes in. 


You cut you Rigid Wrap into strips first. You will then dip it in warm water and gently wring it out. Once the wrap is wrung out you will need to straighten it out. I like to use my fingers to rub it a little so that no holes are showing in the wrap. You are basically distributing the plaster evenly across the gauze. Next you will lay it on top of your Alginate mold. Press it firmly against the mold. It will take several layers and you will need to criss cross them in different directions to give it adequate support. Then you do the hard part you wait and wait for it to dry. The more layers you have the longer it will take to set up. I let each layer dry about half way before I added the next. We also allowed a fan to blow across it while doing each layer. After all our hands were under that thing and we couldn't take them out tell the Rigid Wrap was dry. Took about 20 minutes for it to dry and become hard enough for us to pull our hands out. 

After you take your hands out let the Rigid Wrap dry the rest of the way so its good and hard with our humidity and a fan it took about an hour to be mostly dry. The last part of the project was to mix the plaster I had to make it a tad thinner than the recommended ratio because it makes it easier to get the air out of the mold. To fill a mold like this you should put in around a third of a cup of plaster and roll it all round the mold, this helps to reduce air bubbles. Then you slowly fill it up and tap tap tap tap tap tap..... to make sure all the air bubbles rise to the top and leave the visible surface of your casting smooth and bubble free.

The longest part is waiting for the plaster to dry. I always wait 24 hours to be sure its dry enough before I begin to take the mold off. You know all the Rigid Wrap you pain painstakingly applied to the back side of the mold. You are now going to take it off. Ours was fairly easy to get off as it had reabsorbed some of the water from the alginate and got soft. Once you peal off all that Rigid Wrap you will be able to see the mold. You will need to peal the mold off slowly so you don't break off any fingers. The plaster will not be completely dry at this point. It will take several days to completely dry after the mold is removed. Now for the part you have been waiting for .....


Feel free to OOOO and AHHH over it. 


It came out beautiful thanks to ACTÍVA for the Rigid Wrap and CelluClay Quik-Sculpting Kit. 


We made one large hand casting and two face casting out of the Rigid Wrap.  The Rigid Wrap is some of the best quality that I have used. Be sure you seal any plaster items you make as they will absorb moisture from the air over time and this can make them soft and crumble. I use a good quality non yellowing spray on sealer. 


The kit also had CelluClay which is that instant paper mache that I mentioned earlier. This is nifty stuff and we are in loving it. We got started on this part of the project a little late since the castings took so much time to do. My youngest daughter has started using it to make a fairy house out of a jar. We found the idea on youtube it had a huge list of ingredients to make some sort of clay. I realized that CelluClay would work in place of this other type of clay and way better. It's easy to use she basically mixes the CelluClay with water to get it to the consistency you want for your project. She mixes hers to feel like a soft clay. We make small amounts at a time because I am afraid it will dry out before she can use it all, she is a slow crafter. It molds and shapes very similar to clay but seems to dry faster than regular clay does even when it is thick. She seems to be able to work it into the shape that she wants a little easier than standard clay, she said it feels softer and mushes. So far we like it a lot and I can see us using this on quite a few other projects in the future. I will post an update with the fairy house when she gets it finished. 

Fairy House Update. She got all the CelluClay on today and now we are just waiting for it to dry so we can paint. 


Check out what the other crew members crafted with their kits by clicking the link below. 
Rigid Wrap and CelluClay Quik-Sculpting Kit {ACTÍVA Products Reviews}

Social Media Links:
Crew Disclaimer