
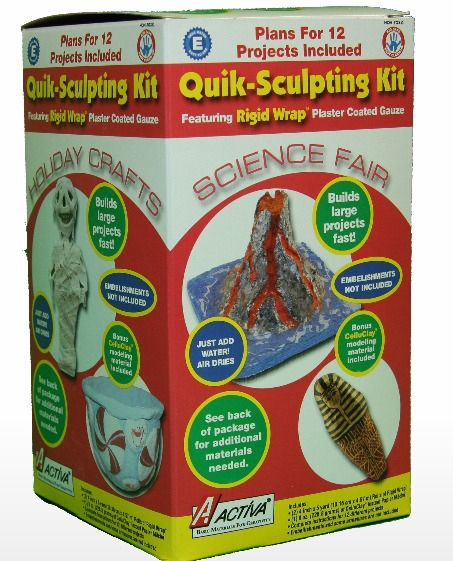
Good morning crafty homeschoolers! This morning I bring you a fun craft kit from ACTÍVA Products . We were blessed to receive the Rigid Wrap and CelluClay Quik-Sculpting Kit. This Kit contains 2 roles of Rigid Wrap and a bag of CelluClay. In case you have no idea what Ridgid Wrap is its basically a gauze type material that has been coated in plaster. To use it you will dip it in water and then sort of wring it out and then it is ready to use. CelluClay is unique because it is instant paper mache They also offer the ACTÍVA Products' Favorite Sculpture KIDS CRAFTS this is a free activity book that has some great idea on how to use the Quik-Sculpting Kit.
 Hand castings are made by using a alginate to make a mold. Alginate is basically a substance that turns to a flexible rubber when it sets. How ever because it is flexible you will need to back the mold up with something that is not flexible so that your casting does not loose its shape when you pore in the plaster. This is where the Rigid Wrap comes in.
  You cut you Rigid Wrap into strips first. You will then dip it in warm water and gently wring it out. Once the wrap is wrung out you will need to straighten it out. I like to use my fingers to rub it a little so that no holes are showing in the wrap. You are basically distributing the plaster evenly across the gauze. Next you will lay it on top of your Alginate mold. Press it firmly against the mold. It will take several layers and you will need to criss cross them in different directions to give it adequate support. Then you do the hard part you wait and wait for it to dry. The more layers you have the longer it will take to set up. I let each layer dry about half way before I added the next. We also allowed a fan to blow across it while doing each layer. After all our hands were under that thing and we couldn't take them out tell the Rigid Wrap was dry. Took about 20 minutes for it to dry and become hard enough for us to pull our hands out.

 We made one large hand casting and two face casting out of the Rigid Wrap. The Rigid Wrap is some of the best quality that I have used. Be sure you seal any plaster items you make as they will absorb moisture from the air over time and this can make them soft and crumble. I use a good quality non yellowing spray on sealer.

Social Media Links:
- Facebook: www.facebook.com/activaproductsincTag: @activaproductsinc
- Twitter: www.twitter.com/activaproducts Tag: @activaproducts
- Pinterest: www.pinterest.com/activaproducts Tag: @activaproducts
- Instagram: www.instagram.com/activaproducts Tag: @activaproducts

No comments:
Post a Comment